Building a Basic Home Sharpening Kit on a Budget
Start with one dependable stone, stable support, a flattening method, and a practice knife.
A useful beginner sharpening kit does not need many stones or accessories. One quality medium-grit bench stone, stable support, a simple flattening method, and time to practice can maintain most ordinary kitchen knives.
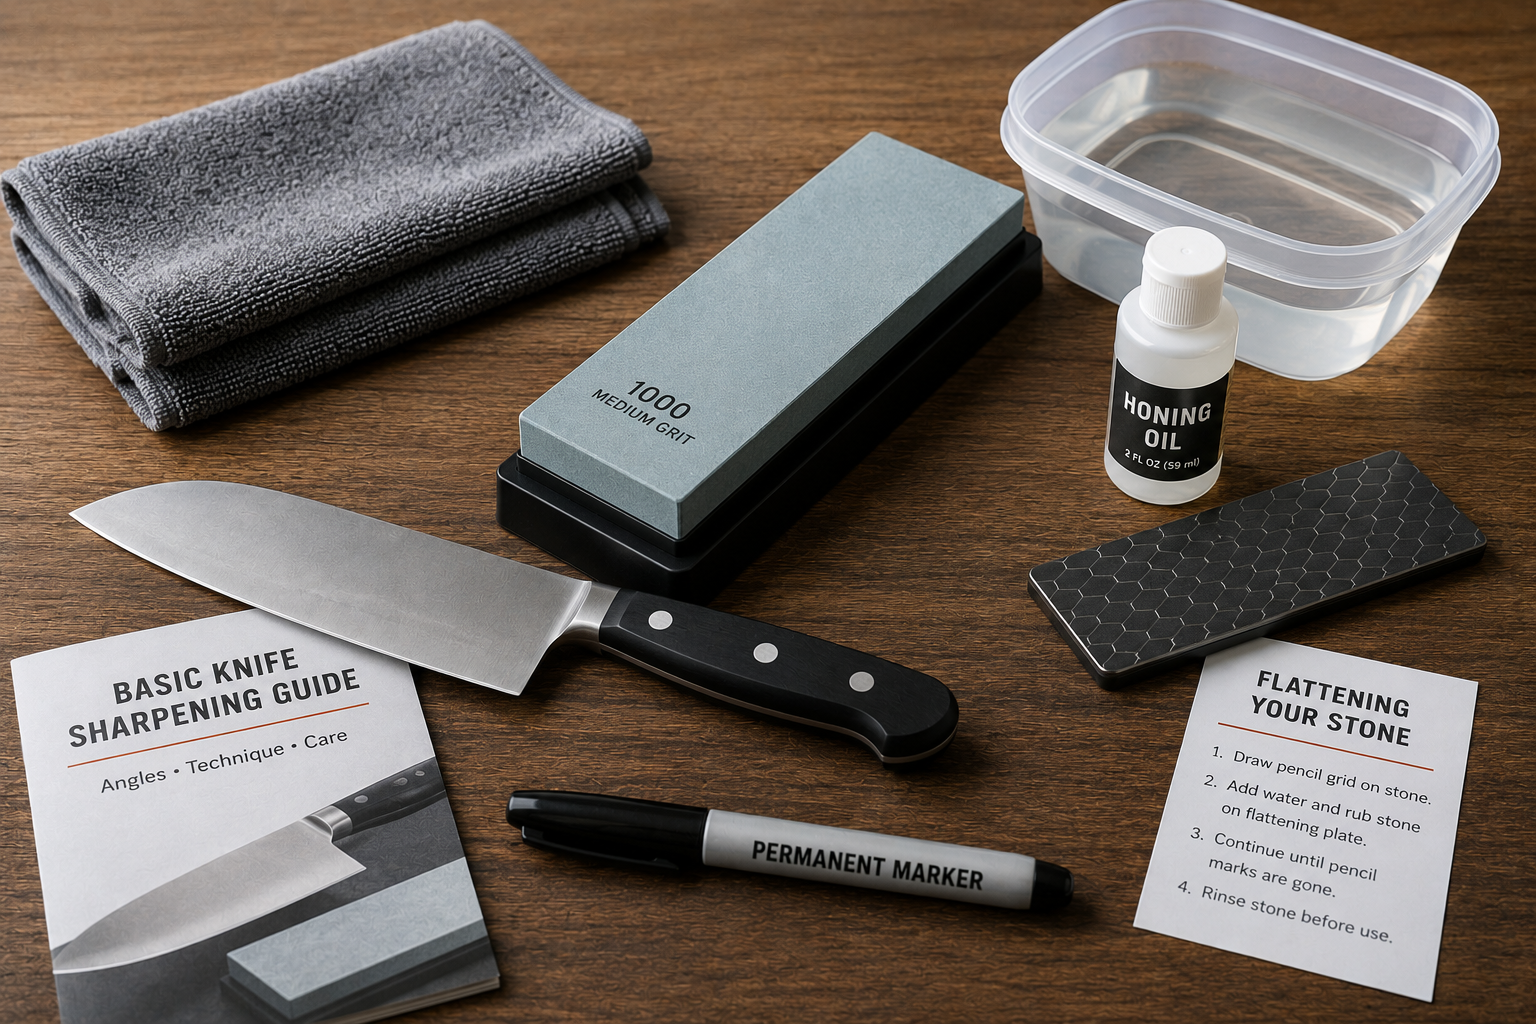
The Budget Priority
Buy fewer tools of dependable quality rather than a large kit filled with weak, redundant, or decorative pieces. A beginner setup only needs to hold the abrasive securely, remove metal predictably, keep the working surface flat, and provide a safe way to practice.
The Essential Starter Kit
These items are enough to begin sharpening ordinary kitchen knives at home.
Medium-Grit Bench Stone
A reputable stone around 800 to 1200 grit can restore a normally dull kitchen edge and leave a practical finish.
Stable Support
Use the stone’s base, an adjustable holder, or a folded damp towel so the stone cannot slide or rock.
Flattening Method
Wet-dry sandpaper on a verified flat surface, silicon-carbide powder, a flattening stone, or a diamond plate can keep the stone level.
Permanent Marker
Coloring the bevel helps show whether your sharpening angle is contacting the edge where intended.
Practice Knife
Choose an inexpensive, straight, undamaged stainless kitchen knife rather than a valuable or unusually shaped blade.
Water and Cleanup Supplies
A towel, tray, small water container, and spray bottle can replace specialized sharpening-station accessories.
Start With One Medium Stone
For ordinary kitchen knives, a stone around 800 to 1200 grit is usually the most useful first purchase. It removes metal quickly enough to restore a dull edge while remaining manageable for a beginner.
A full-size bench stone is easier to control than a small pocket stone. More length and width give the knife room to travel and make it easier to maintain smooth, repeatable strokes.
A combination stone can be economical and compact, but each side is normally thinner than a full-size single-grit stone. One quality medium stone is still enough to begin.
What to Avoid in Cheap Bundles
Large kits may look like a bargain, but the piece count can hide weak core equipment.
Unclear Grit Ratings
Labels may not reflect consistent abrasive size or predictable cutting performance.
Small or Soft Stones
Narrow stones are harder to control, while very soft stones dish quickly and need frequent flattening.
Weak Bases
Light plastic holders may slide, flex, or crack during use.
Redundant Grits
Several closely spaced stones add complexity before basic technique is established.
Accessory Inflation
Gloves, compounds, angle clips, and polishing blocks may increase the advertised piece count without improving the core setup.
High Grits First
Fine stones work slowly and cannot efficiently correct a dull or damaged edge that has not been fully apexed.
Keep the Stone Stable and Flat
The stone must remain stationary while the knife moves across it. A sliding or rocking stone makes angle control difficult and increases the chance of damaging the knife or cutting your hand.
Water stones wear unevenly and gradually become dished. Frequent light flattening is easier than correcting a deeply hollowed surface.
A simple pencil-grid test makes low areas visible. Draw a light grid across the stone, flatten it with water on a suitable abrasive surface, and continue until the pencil marks disappear evenly. Rinse the stone before sharpening.
Practice Before Expanding the Kit
Technique improves through repetition. Start with a structurally sound practice knife that has an ordinary double-bevel edge, visible bevels, and no major damage.
Use a permanent marker to check bevel contact. Focus on angle consistency, pressure control, burr formation, tip movement, and deburring.
Clip-on angle guides can provide a visual reference, but they do not guarantee an exact angle. Blade width, taper, guide placement, and stone thickness all change the result. Some guides may also scratch the blade or interfere near the heel and tip.
Tools to Add Later
Expand the kit only when a specific limitation appears.
Coarse Stone
For RepairsPros
Speeds work on chips, broken tips, severe dullness, and major angle changes.
Cons
Removes metal quickly, so mistakes also happen faster.
Best For
Add when the medium stone is too slow for the work you actually perform.
Fine Stone
For RefinementPros
Refines scratches and changes the cutting feel of an already sharp edge.
Cons
Cannot correct incomplete apexing, uneven bevels, or poor deburring.
Best For
Add after you can consistently produce a sharp edge on the medium stone.
Strop
Optional FinishingPros
Can remove light burr remnants and refine the apex.
Cons
Too much pressure or an elevated angle can round the edge.
Best For
Add when stone-only deburring is reliable and you want a separate finishing step.
Polishing Compounds
Lowest PriorityPros
Useful for specialized finishing goals.
Cons
Multiple compounds and micron sizes add expense without fixing weak angle control or burr removal.
Best For
Buy only after you can identify the exact finish or problem they will address.
A Basic Sharpening Workflow
1. Stabilize and prepare the stone according to its instructions.
2. Mark the existing bevel and use gentle passes to confirm contact.
3. Sharpen one side until a light, consistent burr reaches the full edge.
4. Repeat on the opposite side.
5. Reduce pressure as the edge approaches completion.
6. Finish with very light alternating passes to minimize and remove the burr.
7. Rinse, dry, and inspect the knife and stone.
8. Test with paper, a tomato, an onion, or careful visual inspection rather than running fingers along the edge.
Pressure matters more than expensive accessories. When progress is too slow, use a more suitable abrasive rather than pressing excessively hard.
Suggested Buying Order
Build the kit in the order that most improves control and usefulness.
1. Medium Stone
Provides the abrasive needed for routine sharpening.
2. Stable Support
Use the included base, a holder, or a folded damp towel.
3. Flattening Method
Keeps the working surface level and protects the stone’s usefulness.
4. Marker and Practice Knife
Provide feedback and allow practice without risking a valuable blade.
5. Coarse Stone
Add when repairs, chips, or severe dullness justify faster cutting.
6. Fine Stone or Strop
Add after medium-grit sharpening and deburring are repeatable.
Key Takeaways
A modest kit works when each part has a clear purpose.
Begin With One Good Stone
A medium-grit bench stone can maintain most ordinarily dull kitchen knives.
Stability Comes First
A secure stone and controlled workspace matter more than extra accessories.
Keep the Stone Flat
Routine flattening supports consistent bevel contact and predictable results.
Upgrade With Purpose
Add tools only when they solve a specific problem in speed, control, compatibility, or finish.
References
The following sources were used in preparing and supporting this article.
How to Sharpen a Knife: Back to Basics
Work Sharp
worksharptools.com
How to Sharpen Your Knives
ZWILLING
zwilling.com
KUBO Diamond Reference Lapping Plate
Shapton
shapton.co.jp