How Professional Knife Sharpening Works
A sharper knife starts with the right process.
Professional sharpening is more than running a blade across an abrasive. A good process starts with inspection, corrects damage when needed, rebuilds the edge at an appropriate angle, and finishes the knife for real kitchen use.
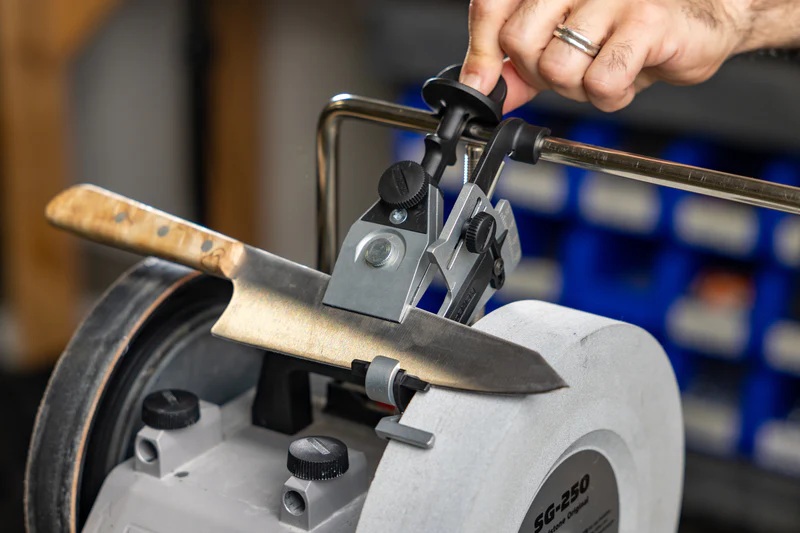
It starts with inspection
Every knife is different. Before sharpening begins, the blade should be checked for chips, cracks, a broken tip, heavy wear, rust, loose handles, and uneven edge geometry.
This inspection determines whether the knife needs a normal sharpening, minor repair, or a more careful restoration. It also helps avoid removing more steel than necessary.
Damage is addressed first
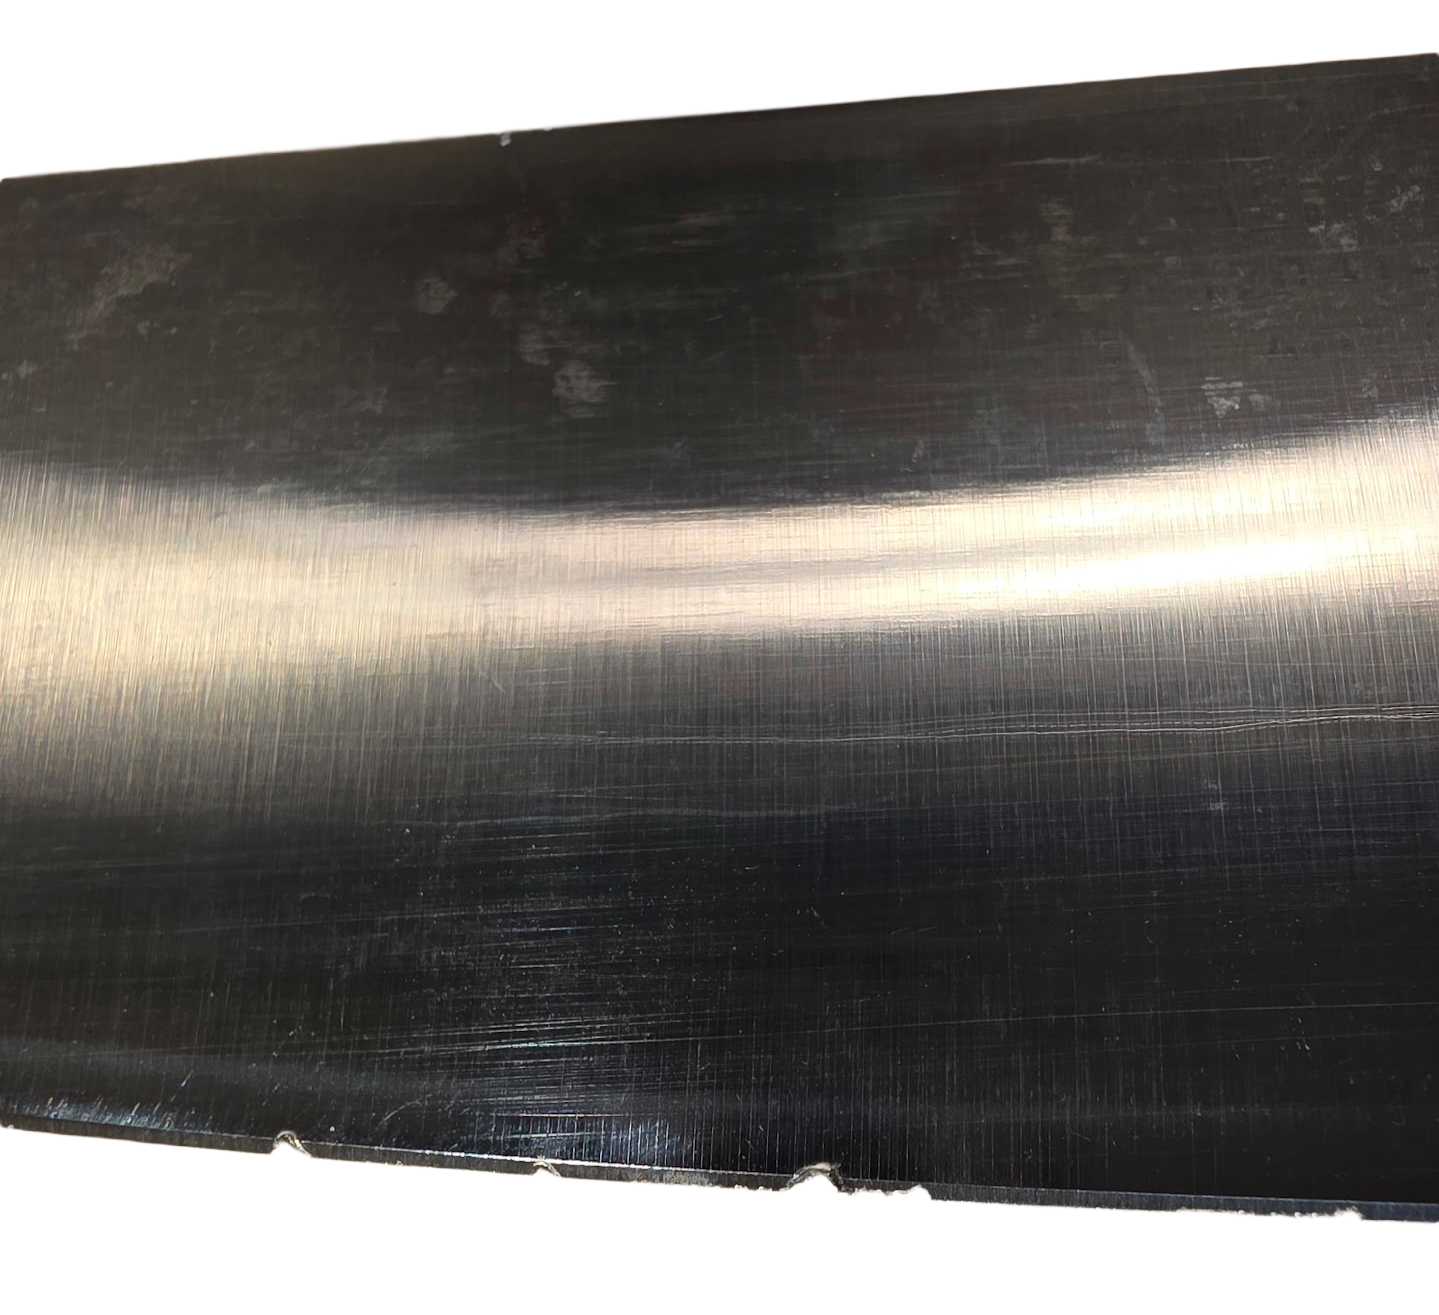
If a knife has chips, a rounded tip, or an uneven edge, those problems should be corrected before the final edge is sharpened. Otherwise, the knife may feel sharp in some places while still cutting poorly.
Repair work usually removes more steel than a normal sharpening, so the goal is to correct only what is needed while keeping the blade useful and balanced.
The edge is rebuilt at the right angle
Sharpening creates a fresh cutting edge by removing a controlled amount of steel from each side of the blade. The angle matters because it affects both sharpness and durability.
A thin slicing knife may benefit from a finer angle. A heavier utility knife or cleaver may need a stronger edge. Many household kitchen knives do best with a balanced edge that cuts cleanly but still holds up to daily use.
A burr confirms the edge has been reached
During sharpening, a tiny burr can form along the edge. This usually indicates that the sharpening process has reached the very edge of the blade.
The burr then needs to be carefully reduced and removed. If this step is rushed, a knife may feel sharp briefly but lose that feeling quickly.
The finish affects how the knife cuts
The final edge finish can change how a knife feels in use. A slightly toothy edge can work well for tomatoes, peppers, onions, and fibrous foods. A smoother edge may feel better for certain slicing tasks.
For most home kitchens, the best result is not an extreme edge. It is a sharp, stable, practical edge that performs well and is easy to live with.
Testing confirms the result
After sharpening, the edge should be checked for consistency and obvious defects. Testing may include visual inspection, paper slicing, food-style cutting tests, or sharpness measurement depending on the knife.
The goal is not just to make a knife seem sharp for a moment. The goal is to return a reliable edge that performs well in normal kitchen use.
Key Takeaways
Inspect First
Every knife should be evaluated before sharpening to determine the best approach.
Sharpen for the Knife
The ideal edge depends on the knife, its steel, and how it will be used.
Finish and Test
A quality sharpening ends with burr removal, finishing, and testing—not just grinding.
References
The following sources were used in preparing and supporting this article.
Knife Sharpening: How to Sharpen Your Knives
Tormek
tormek.com
Knife Sharpening Basics
Korin
korin.com
How to Sharpen Any Knife: Back to Basics
Work Sharp
worksharptools.com