Hand Sharpening Basics
Hand sharpening uses an abrasive stone and a controlled angle to rebuild and refine a knife’s cutting edge.
Hand sharpening uses an abrasive stone to rebuild and refine the cutting edge. The process is simple in principle, but good results depend on holding a consistent angle, using appropriate pressure, reaching the apex, and removing the burr completely.
What Is Hand Sharpening?
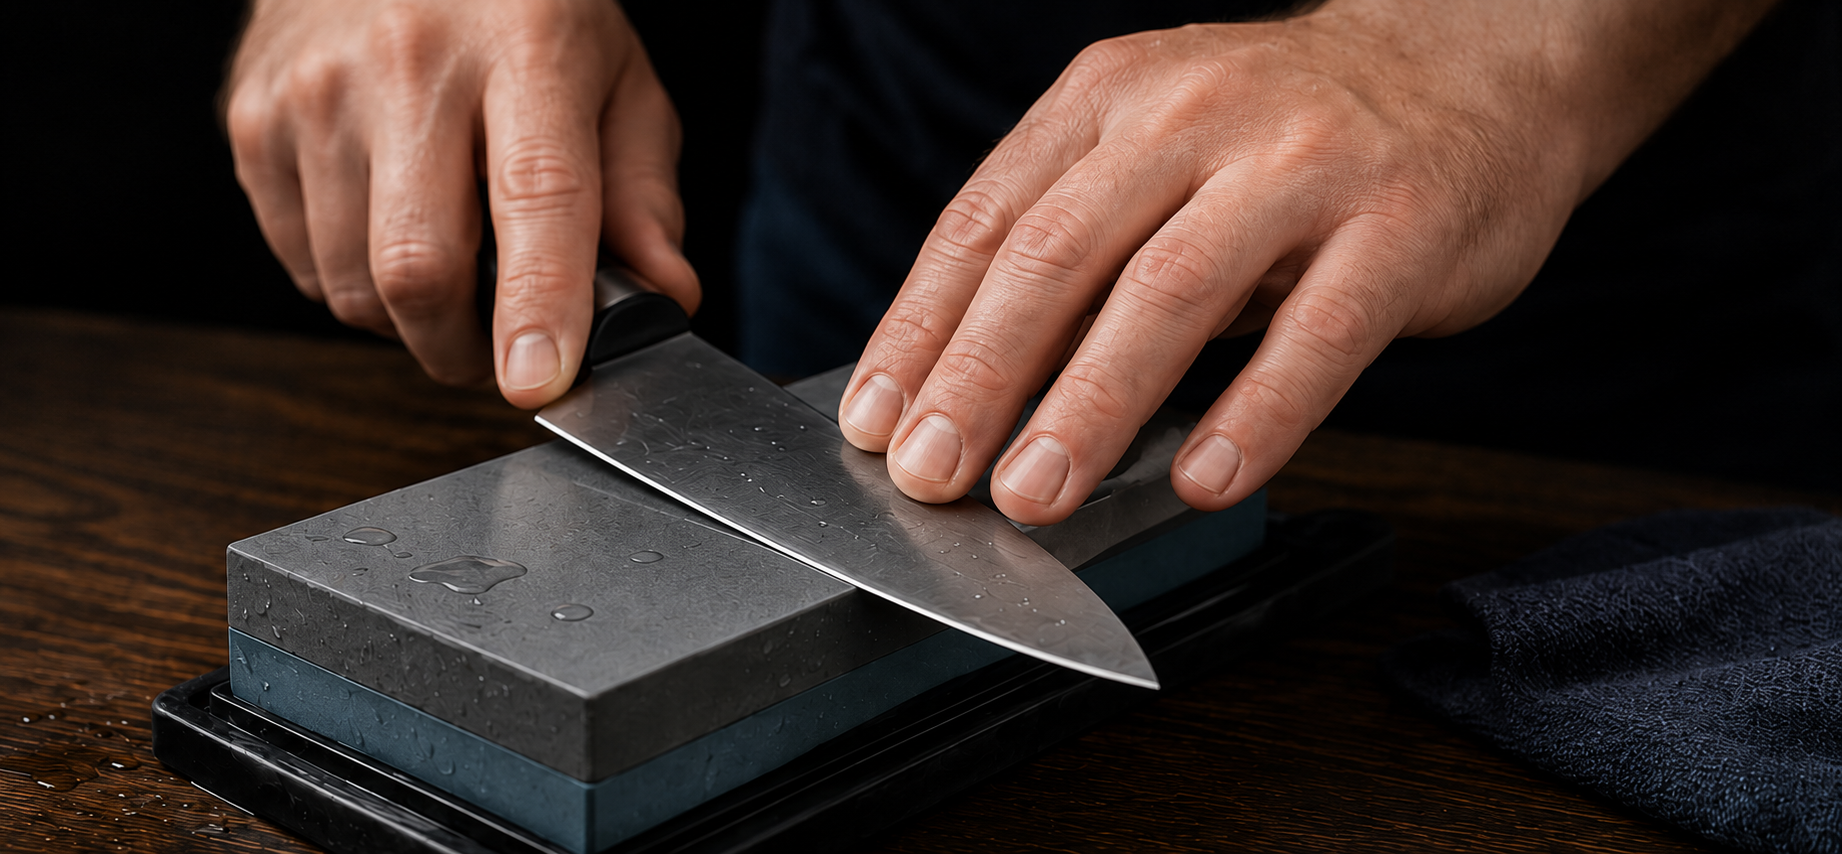
Hand sharpening uses an abrasive stone to remove steel and rebuild the cutting edge. The knife is moved across the stone while the user maintains a consistent angle.
The basic idea is simple, but good results require patience and control. The bevel must reach the apex along the full edge, and the burr created during sharpening must be removed before finishing.
Hand sharpening is one traditional method. Gibson County Knife Sharpening uses professional equipment and processes selected for each knife’s steel, geometry, and condition.
What You Need
A basic hand-sharpening setup does not need to be complicated.
Sharpening Stone
Choose a grit suited to the edge condition. Medium grit handles most routine sharpening, while coarse grit is reserved for damage or major dullness.
Stable Work Surface
Keep the stone secure so it cannot slide while the knife is moving across it.
Water or Oil, When Required
Use the lubricant recommended for the stone. Some stones are used dry, while others require water or oil.
Towel and Good Lighting
A towel helps control water and debris, while good lighting makes it easier to inspect the bevel and edge.
The Basic Hand-Sharpening Process
Set the knife at the chosen angle and move the edge across the stone with controlled, even strokes. Work from heel to tip so the entire edge receives attention.
Continue on the first side until a small burr can be felt along the full edge. Then switch sides and repeat.
Finish with lighter alternating strokes to reduce and remove the burr. Stop when the edge feels clean and even rather than continuing to remove steel unnecessarily.
Common Mistakes and Safety
Most problems come from poor angle control, excess pressure, or unsafe hand placement.
Changing the Angle
Inconsistent angles create uneven bevels and can round the cutting edge instead of sharpening it cleanly.
Using Too Much Pressure
Heavy pressure can remove excess steel, create a larger burr, and make control more difficult.
Ignoring the Heel or Tip
Work the entire blade so no section remains dull or develops a different bevel.
Sharpening Without a Stable Stone
A sliding stone reduces control and increases the risk of injury. Secure it before beginning.
Placing Fingers Near the Edge
Keep fingertips above and behind the cutting edge, and always move the blade in a controlled direction.
Key Takeaways
Hand sharpening is straightforward in concept, but consistency and control determine the result.
Use the Right Grit
- Match the stone to the edge condition. Coarse grit is for damage
- medium grit handles most routine sharpening.
Hold a Consistent Angle
Steady angle control helps create an even bevel and a clean apex.
Form and Remove the Burr
A small burr confirms that sharpening has reached the edge, but it must be removed before finishing.
Use Light, Controlled Pressure
Excess pressure removes more steel and makes accurate sharpening harder.
Know When to Stop
Stop when the edge is clean and even rather than continuing to grind away steel.
References
The following sources were used in preparing and supporting this article.
PT50 Series Edge Sharpness Testers and the BESS
Edge On Up
edgeonup.com
KS-123 Knife Angle Setter
Tormek
tormek.com
Knife Sharpening Basics
Korin
korin.com
How to Sharpen Any Knife: Back to Basics
Work Sharp
worksharptools.com