How to Clean and Inspect a Knife Block
Knife blocks can collect crumbs, grease, moisture, and debris while hiding dull, damaged, or poorly fitting knives.
A thorough knife-block cleaning begins by removing every knife, inspecting the empty storage system, cleaning it without trapping moisture, and returning only clean, dry, serviceable knives that fit safely.
The Practical Approach
Empty the block completely, inspect and clean the storage system, allow it to dry thoroughly, and return only clean, dry, serviceable knives that fit the available slots safely.
Why Knife Blocks Need Attention
Knife blocks are easy to overlook because most of the storage area is hidden.
Crumbs, grease, dust, moisture, and food residue can collect inside or beneath the block. Knives may also remain in the same slots for years without close inspection.
Cleaning the block creates an opportunity to identify:
• Damp or contaminated slots.
• Cracks, splinters, or damaged openings.
• Knives that scrape the slot or do not fit correctly.
• Dull, chipped, rusty, or structurally unsafe knives.
• Tools that should be stored somewhere else.
Prepare a Safe Work Area
Choose a clear, dry counter or table with enough room to lay out every knife without stacking blades.
• Keep children, pets, food, and unrelated utensils away.
• Place knives so their edges do not overlap.
• Keep tips away from the counter edge.
• Handle one knife at a time.
• Do not place loose knives in a sink or basin.
• Prepare blade guards or secure protection for knives that will not return to the block.
Remove Every Knife
Pull each knife straight out without twisting or dragging the edge against the slot.
Lay it on the work surface with the blade visible and the handle easy to reach.
Keep the block empty until cleaning and inspection are complete. Returning knives one at a time during the process makes it easier to overlook an uncleaned slot or an uninspected knife.
Inspect the Empty Block
Stability
The block should sit flat and resist sliding or tipping as knives are removed.
Slots
Look for crumbs, grease, moisture, splinters, cracks, odors, and damaged openings.
Base and Feet
Check beneath the block for trapped moisture, residue, warping, and loose nonslip pads.
Knife Contact
Determine whether edges scrape the slots or tips strike the interior.
Do Not Soak a Wooden Knife Block
Unless the manufacturer specifically says otherwise, do not submerge or flood a wooden block. Excess moisture can cause swelling, splitting, warping, odor, and prolonged dampness inside the slots.
Clean the Block Carefully
Follow the manufacturer’s directions when available.
For a typical wooden block:
• Turn the empty block upside down and shake out loose debris.
• Use a narrow dry brush to loosen crumbs inside the slots.
• Vacuum loosened debris when practical.
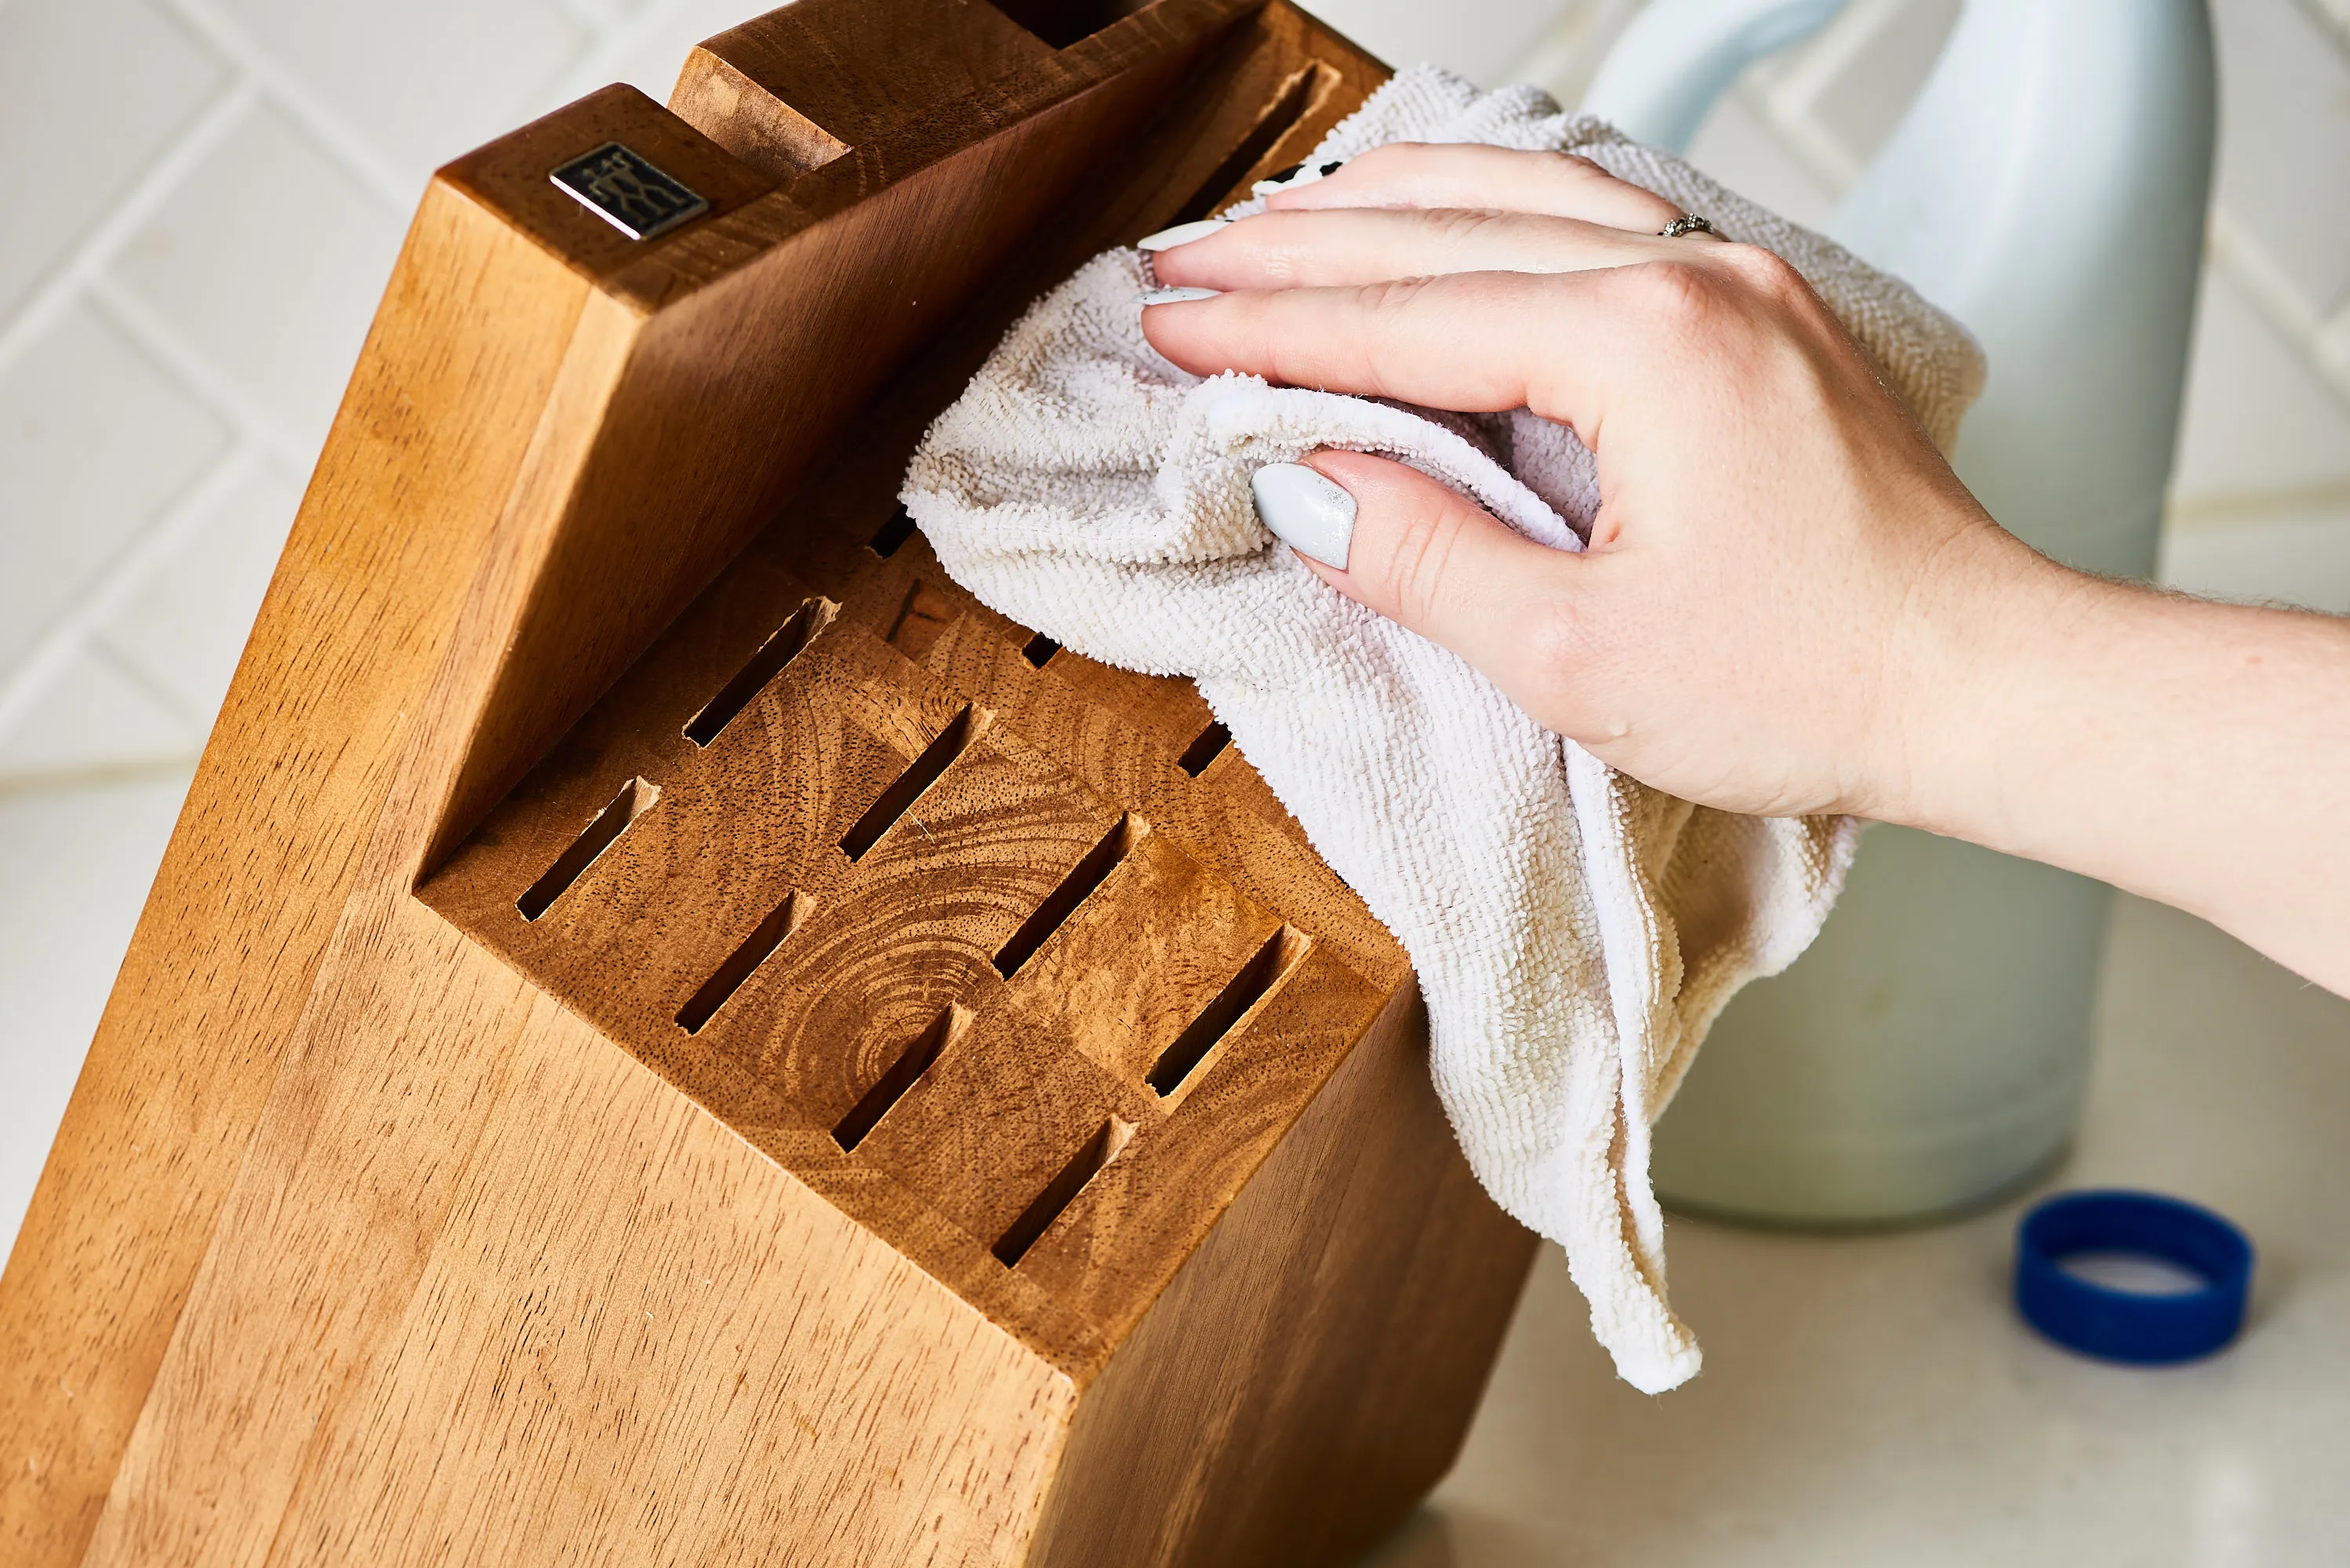
• Wipe the exterior with a lightly damp cloth and a cleaner suitable for the material.
• Clean the base and the counter beneath it.
• Avoid pouring water or sanitizer into enclosed slots.
• Leave the block empty until every part is completely dry.
Cleaning and sanitizing are not the same process. Sanitizers should only be used when they are compatible with the block material and can be applied according to the product or manufacturer instructions.
Allow Complete Drying
Never return knives to a damp block.
Trapped moisture can contribute to rust, staining, odors, wood deterioration, and contamination inside the slots.
Place the empty block in a dry, well-ventilated location. Drying may take longer than the exterior suggests because enclosed slots hold moisture.
Do not use intense heat that could crack, warp, or loosen the block.
Inspect Each Knife Before It Returns
While the block dries, inspect every knife under good lighting.
• Check the edge for chips, rolls, flat spots, and severe dullness.
• Inspect the tip for bending or breakage.
• Look for rust, pitting, cracks, and dried residue.
• Check the handle for looseness, swelling, gaps, or cracks.
• Confirm that rivets, screws, scales, and bolsters remain secure.
• Wash and dry each serviceable knife individually.
A sharp blade with a loose or cracked handle should not return to active storage.
Give Each Knife a Destination
Return to the Block
Clean, completely dry, structurally sound, useful, and correctly fitted.
Sharpen or Repair
Dull, chipped, rusted, uneven, or damaged knives that remain safe candidates for service.
Different Storage
Useful knives that do not fit the block securely or naturally.
Remove From Service
Knives with structural cracks, unstable handles, severe corrosion, or dangerous bends.
Relocate
Peelers, utility blades, loose tools, and accessories that do not belong in knife slots.
Review Later
Clean and safely protected duplicates or specialty knives whose future use is uncertain.
Make Sure Each Knife Fits
A knife should enter and leave its slot without being forced, twisted, or dragged along the cutting edge.
• Do not force a wide or thick blade into a narrow slot.
• Do not place a short knife where the handle disappears into the opening.
• Do not use accessory openings for loose unguarded blades.
• Make sure tips remain enclosed.
• Do not allow knives to wobble, lean sharply, or fall from the block.
• Relocate knives whose size or shape does not match the block.
ZWILLING identifies knife blocks, drawer organizers, and protective sleeves as appropriate storage options when they protect the blade correctly.
When the Block Should Be Replaced
Cleaning cannot correct every storage problem.
Replacement may be appropriate when the block is:
• Unstable or prone to tipping.
• Cracked, badly splintered, or warped.
• Permanently contaminated or strongly odorous.
• Difficult to dry.
• Damaged so blade tips can protrude.
• Poorly matched to the knives being stored.
• Designed so edges repeatedly scrape hard interior surfaces.
Alternatives include an in-drawer organizer, fitted blade guards, a properly mounted magnetic rack, or another storage system suited to the knives.
Return Knives Carefully
Once the block and knives are completely dry:
• Place each knife into a correctly sized slot.
• Guide the blade straight into the opening.
• Avoid scraping the cutting edge.
• Confirm that handles remain easy to grasp.
• Keep sharpening-bound or damaged knives separate.
• Do not overfill accessory openings.
• Make sure the block remains stable as knives are inserted and removed.
Knife Block Cleaning Checklist
• Clear and secure the work area.
• Remove every knife and accessory.
• Inspect the empty block, slots, base, and feet.
• Shake, brush, and vacuum out loose debris.
• Clean the exterior appropriately.
• Allow the block to dry completely.
• Inspect, wash, and dry every knife.
• Separate knives needing sharpening, repair, removal, or different storage.
• Return only clean, dry, serviceable knives that fit safely.
Key Takeaways
Empty It Completely
Hidden debris, moisture, slot damage, and poor knife fit cannot be evaluated while the block is full.
Keep Moisture Out
Avoid soaking enclosed wooden blocks and allow complete drying before knives return.
Return Only Suitable Knives
Each knife should be clean, dry, serviceable, useful, and correctly fitted to its slot.
References
The following sources were used in preparing and supporting this article.
How to Clean and Care for Your Knife
ZWILLING
zwilling.com
Cutting Boards
USDA Food Safety and Inspection Service
fsis.usda.gov
Cleanliness Helps Prevent Foodborne Illness
USDA Food Safety and Inspection Service
fsis.usda.gov
Cleaning
U.S. Food and Drug Administration
fda.gov