How Scissors and Shears Cut
Scissors depend on two blades working together. Edge geometry, blade contact, alignment, pivot tension, cleanliness, and intended use all affect performance.
Scissors and shears cut by passing two blades against one another. Understanding their bevels, inside faces, contact, pivot, alignment, serrations, cleaning, and testing helps explain why they should not be treated like ordinary knives.
The Practical Difference
A scissors blade can feel sharp and still cut poorly when the pivot is loose, the blades are bent, the contact line is damaged, or the two edges no longer meet correctly.
Scissors Do Not Cut Like Knives
A knife cuts with one exposed edge moving through material. Scissors cut through a shearing action created as two blades pass against one another.
Successful cutting therefore depends on more than sharp bevels.
The blades must maintain controlled contact, close smoothly from the pivot toward the tips, and remain aligned throughout the cutting stroke.
The Parts That Control Cutting
Outside Bevel
The angled outer surface forms the cutting edge on many scissors and shears.
Inside Face
The mating surface must remain carefully preserved so the two blades can pass closely together.
Contact Line
The blades should meet progressively as the handles close rather than separating or colliding.
Pivot
The joint controls blade pressure and movement.
Blade Set
A slight intentional curve or set helps maintain contact through the stroke.
Tips
The tips must meet correctly for complete cutting along the full blade length.
Different Scissors Are Built for Different Materials
Scissors and shears are designed around the material they are expected to cut.
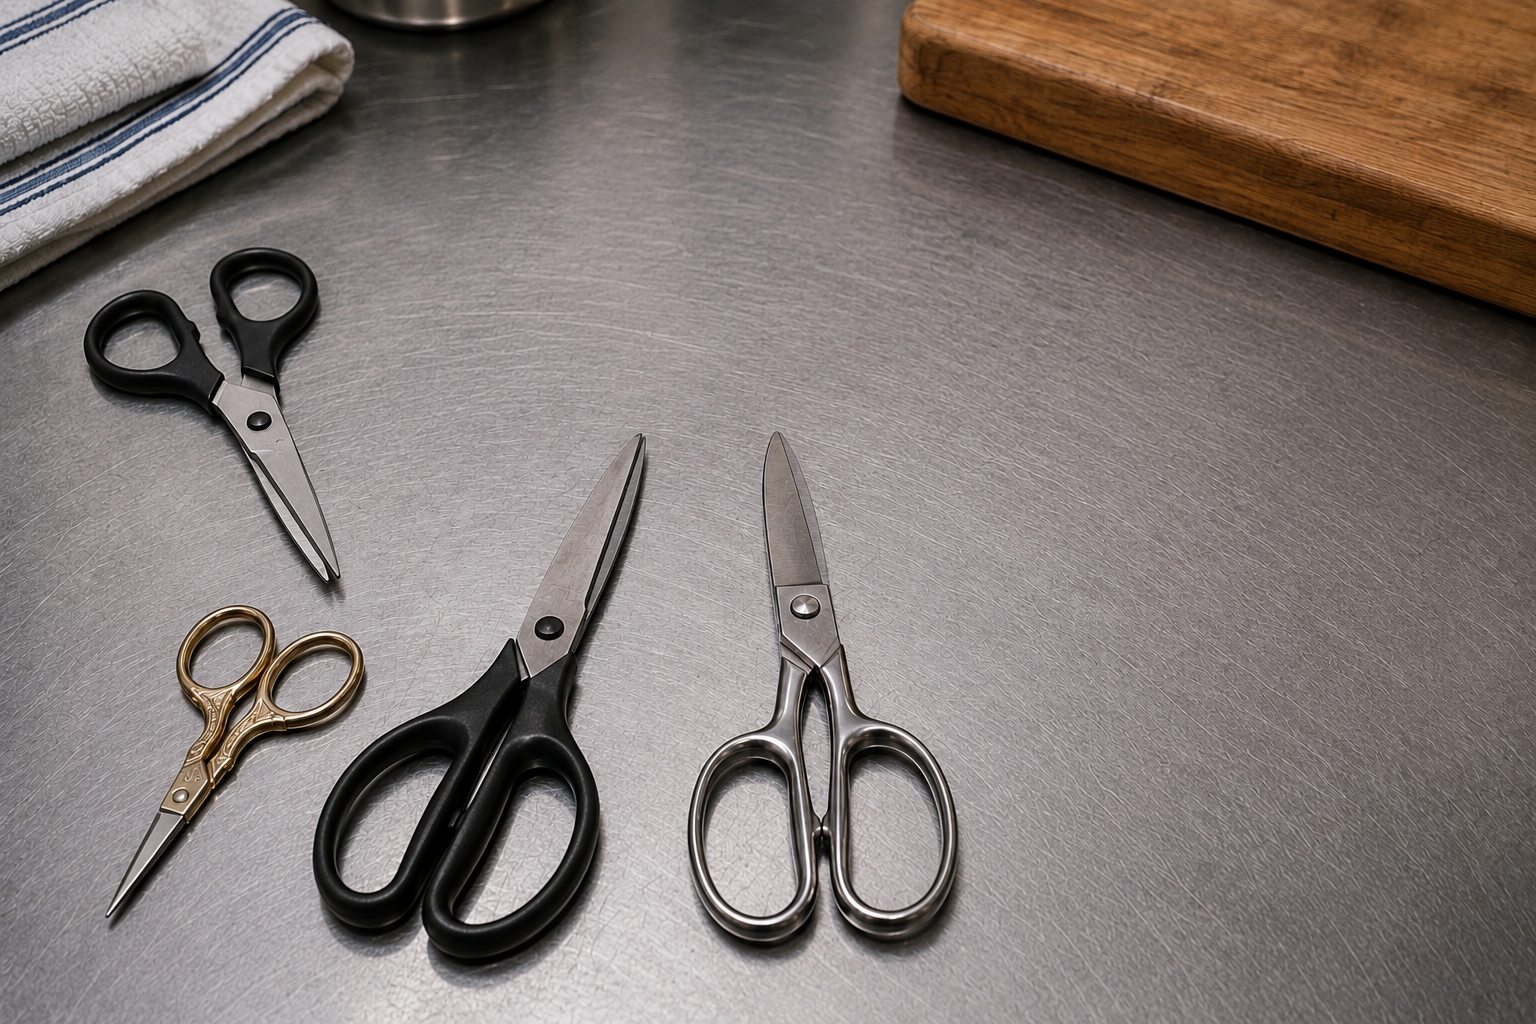
• Kitchen scissors may cut herbs, packaging, food, and light poultry work.
• Poultry shears are heavier and may include springs, locks, and serrated gripping surfaces.
• Fabric scissors use long, smooth edges intended for clean textile cutting.
• Pinking shears use patterned teeth to reduce fabric fraying.
• Embroidery and detail scissors use short blades and precise tips.
• Hair, grooming, medical, and industrial shears may use specialized convex edges, serrations, coatings, or tension systems.
A tool intended for one material may perform poorly or suffer damage when used on another.
Signs That Cutting Performance Has Declined
• Material folds or bends instead of cutting.
• The scissors cut near the pivot but not near the tips.
• Fabric, paper, herbs, or food are pushed forward.
• More hand pressure is required.
• The cut is ragged, frayed, or incomplete.
• The blades snag at one point.
• Nicks, dents, or flat spots are visible.
• The action feels rough, loose, or inconsistent.
These symptoms can come from dullness, but they can also indicate alignment, pivot, contamination, or hardware problems.
Dullness or Mechanical Trouble?
The symptom alone does not always identify the cause.
Edge Wear
Sharpening ConcernPros
The bevel has rounded, nicked, or lost its ability to initiate a clean cut.
Cons
Sharpening alone will not correct bent blades, poor contact, or worn hardware.
Best For
Scissors that remain aligned and mechanically sound but no longer cut cleanly.
Mechanical or Alignment Problem
More Than DullnessPros
May be corrected through cleaning, pivot adjustment, alignment work, hardware replacement, or manufacturer service.
Cons
Removing more steel can make the problem worse when the edges are not the real cause.
Best For
Tools with blade separation, rough action, bends, worn pivots, loose handles, or damaged locks.
Pivot Tension Matters
The pivot controls how firmly the blades remain in contact.
When the pivot is too loose, material may fold between the blades. When it is too tight, the scissors may be difficult to operate and may wear unnecessarily.
Some pivots can be adjusted with a screw or nut. Others are riveted or use specialized tension hardware.
Adjustment should improve controlled blade contact without creating binding.
Alignment Affects the Entire Stroke
Many scissors blades are intentionally curved or set so that contact progresses from the pivot toward the tips.
Dropping, twisting, forcing, or cutting inappropriate material can disturb that relationship.
A blade that appears only slightly bent may produce a significant gap during cutting. Uneven removal of steel can also change how the blades meet.
Alignment correction is different from ordinary edge sharpening and may not be practical on severely damaged or inexpensive scissors.
Preserve the Original Geometry
Scissors should not automatically be sharpened like double-bevel knives. Altering the inside face, bevel angle, blade set, serrations, or tip relationship can prevent the two blades from cutting together.
Common Sharpening Mistakes
Changing the Bevel
A different angle may weaken the edge or change how the blades meet.
Grinding the Inside Face
Excess removal can create gaps and destroy the mating surface.
Uneven Steel Removal
Removing more material from one area can alter alignment and contact pressure.
Removing Serrations
Flattening micro-serrations or teeth permanently changes how the blade grips material.
Rounding the Tips
Shortened or rounded tips may no longer meet and complete the cut.
Leaving a Burr
An unfinished burr can snag material or make the edge feel sharp only briefly.
Kitchen and Poultry Shears
Kitchen shears may be exposed to grease, food residue, seasoning, adhesive, moisture, and corrosion.
Removable designs can make cleaning easier, but the blades must be reassembled correctly and remain secure during use.
Poultry shears receive heavier loads and may include:
• Springs that reopen the handles.
• Locks that secure the blades during storage.
• Serrations that grip slippery material.
• Thicker blades and stronger pivots.
• Handles designed for greater pressure.
A sharp edge cannot compensate for a weak spring, loose pivot, cracked handle, bent blade, or damaged lock.
Clean and Maintain the Whole Tool
OSHA notes that well-maintained, cleaned, oiled, and sharpened scissors can reduce the force required during repetitive cutting.
• Remove food, adhesive, lint, grease, and debris.
• Clean around the pivot and blade overlap.
• Dry completely, especially near joints and removable connections.
• Lubricate the pivot sparingly when appropriate.
• Protect the tips from drops and hard contact.
• Store scissors closed in a sheath, case, organizer, or designated location.
• Use each pair only on the materials it was designed to cut.
Manufacturer instructions should take priority for coated, serrated, removable, or specialty designs.
Testing Should Match the Intended Use
A pair of scissors may cut ordinary paper while still performing poorly on fabric, herbs, poultry skin, thread, or other intended material.
Testing should evaluate:
• Smooth opening and closing.
• Useful contact from near the pivot to the tips.
• Clean cutting through the intended material.
• No folding, pushing, snagging, or skipped sections.
• Secure handles, pivot, springs, locks, and removable joints.
Do not test sharpness by sliding a finger along the bevel or placing fingers between the blades.
When Replacement or Specialist Service May Be More Appropriate
Some scissors require equipment and training specific to their design. Hairdressing, grooming, surgical, embroidery, pinking, industrial, and other specialty shears may use convex edges, micro-serrations, coatings, or specialized tension systems.
Replacement or specialist evaluation may be more appropriate when:
• The blades are deeply bent or twisted.
• The pivot is badly worn.
• Handles, springs, or locks are unsafe.
• Corrosion is deep or widespread.
• The inside faces have been heavily altered.
• Large amounts of steel were removed incorrectly.
• Replacement parts are unavailable.
• The manufacturer specifies an authorized service process.
Key Takeaways
Scissors Are a System
Cutting depends on edge condition, blade contact, alignment, pivot tension, and mechanical integrity.
Preserve the Geometry
Scissor blades, inside faces, serrations, and tips should not be treated like ordinary knife edges.
Match Care to the Tool
Kitchen, fabric, poultry, grooming, medical, and industrial shears may require very different maintenance and service.
References
The following sources were used in preparing and supporting this article.
Scissor Work
Occupational Safety and Health Administration
osha.gov
Scissors
Fiskars
fiskars.com
Scissors Sharpeners
Fiskars
fiskars.com
Kitchen Shears and Kitchen Scissors
ZWILLING
zwilling.com