Tormek and Belt Sanders in the Sharpening Process
Water-cooled sharpening provides control and repeatability, while belt equipment handles repair and reshaping efficiently when speed, pressure, heat, and abrasives are carefully managed.
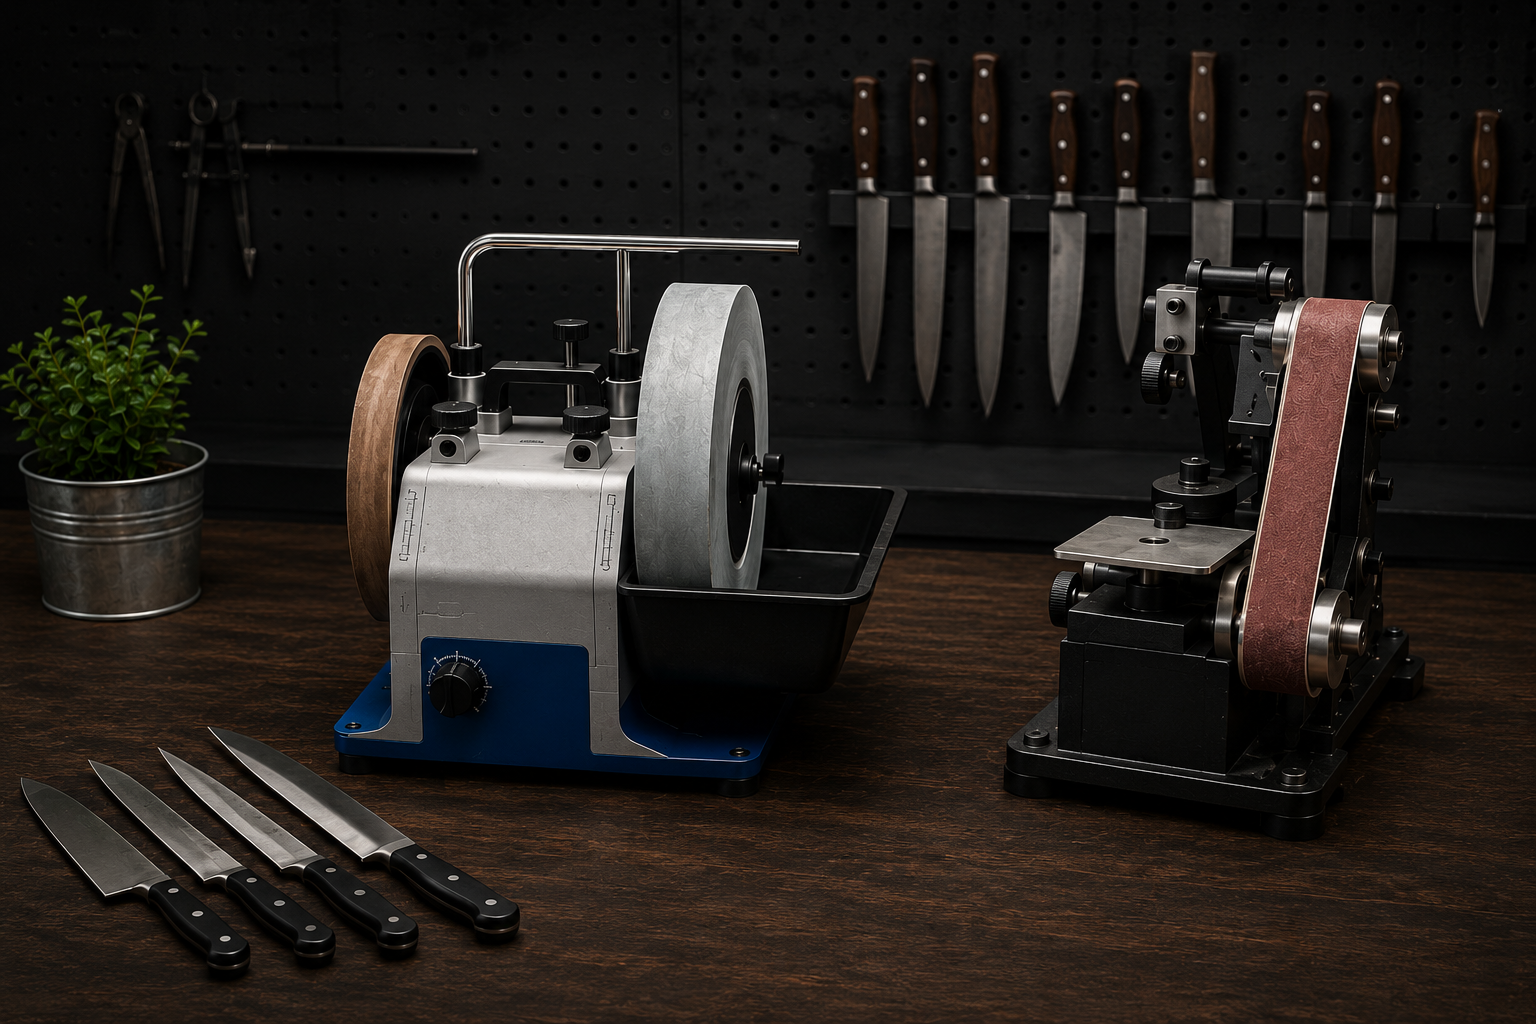
Professional sharpening may use more than one machine because routine edge restoration, chip repair, tip reshaping, bolster correction, thinning, deburring, and polishing are different jobs. Equipment is selected for the work required, then controlled through setup, cooling, inspection, and operator technique.
The Machine Is Only Part of the Process
Equipment does not determine quality by itself. Setup, abrasive choice, speed, pressure, cooling, inspection, and operator control matter more than the machine name.
Why More Than One System May Be Used
Restoring an ordinarily dull edge is different from removing a deep chip, rebuilding a broken tip, reducing a bolster, correcting a recurve, or thinning a blade.
A single machine may perform several jobs, but it may not be the most efficient or controlled choice for every stage. Professional sharpening often separates heavy repair from precision edge formation and final deburring.
The Primary Roles of Each System
The systems overlap, but each has different strengths.
Water-Cooled Tormek System
Controlled Edge FormationPros
Slow speed, active water cooling, repeatable jig support, consistent bevel formation, low airborne dust, and integrated honing options.
Cons
Heavy repairs, broad thinning, and major profile changes may take longer on a standard wheel.
Best For
Routine sharpening, controlled bevel creation, angle repeatability, refinement, and deburring.
Belt Equipment
Efficient Repair and ShapingPros
Fast steel removal, broad abrasive selection, profile correction, thinning, bolster work, scratch blending, and flexible contact options.
Cons
Errors, overheating, overgrinding, tip rounding, and cosmetic damage can happen quickly without careful control.
Best For
Chip repair, broken-tip reshaping, recurve correction, bolster reduction, thinning, and major bevel resets.
How the Tormek Works
A Tormek-style system uses a slow-turning abrasive wheel that runs through water. The water carries away swarf and helps limit heat near the edge.
A universal support, jigs, and measured setup help maintain a repeatable relationship between the blade and wheel. The system gives the operator time to observe progress and make small corrections.
Because the sharpening surface is a wheel, it creates a slight hollow in the bevel. On a large-diameter wheel this hollow is subtle, but it remains part of the edge geometry.
How Belt Equipment Works
A belt grinder or belt sander moves abrasive across a flexible belt. Belts are available in many grit sizes, abrasive materials, backing types, and surface treatments.
A flat platen supports a flatter bevel and controlled profile work. A contact wheel creates a hollow surface. A slack belt can blend and create a more convex transition. Specialty attachments may be used for narrow, curved, or unusual areas.
The starting belt should be coarse enough to perform the necessary work without removing more steel than the repair requires. Progressively finer belts reduce earlier scratches before final sharpening or finishing.
Contact Surface and Bevel Shape
| Geometry | How It Is Produced | Practical Characteristic |
|---|---|---|
| Flat bevel | Abrasive supported by a flat stone or platen. | Easy to measure and reproduce. |
| Hollow bevel | Edge worked against a wheel. | Slight inward curve behind the apex. |
| Convex bevel | Edge blended over a flexible or slack abrasive surface. | Gradual outward curve that can add support behind the edge. |
| Blended bevel | More than one sharpening or finishing stage. | Combines characteristics of multiple geometries. |
Heat Control on Belt Equipment
The thin apex can overheat before the spine or handle feels warm. Use the lowest practical speed, fresh abrasives, light pressure, short passes, cooling when appropriate, and frequent inspection. Replacing a worn belt is safer than increasing pressure to recover lost cutting speed.
When Belt Repair May Come First
Heavy work can be completed before the controlled final sharpening stage.
Deep Chips
The complete cutting line must be lowered until the damaged section disappears.
Broken Tips
The spine, edge, or both are reshaped to create a new functional point.
Bolster and Heel Problems
Excess bolster material can be reduced so the heel reaches the cutting board.
Recurves and Profile Damage
Overground or uneven areas can be blended into a usable cutting line.
Thinning
Steel is removed above the edge to reduce wedging and cutting resistance.
Major Bevel Reset
Incorrect or severely uneven previous bevels may require substantial correction.
A Combined Repair and Sharpening Workflow
The knife is first inspected and the required geometry, repair, and final edge are planned. Heavy damage may be removed on a controlled belt setup, keeping the entire cutting line smooth rather than grinding only one damaged spot.
Once the chip, tip, bolster, recurve, or thickness problem is corrected, the blade can move to a water-cooled system or another precision method for repeatable bevel formation and apexing.
The edge is then refined, deburred, inspected, tested, cleaned, and documented. Not every knife needs every stage; the progression should stop when the required repair and finish have been achieved.
Protecting Blade Finishes
Grinding, clamping, and abrasive debris can mark polished, coated, etched, hammered, or patterned surfaces. Clean contact areas, protective tape where appropriate, deliberate grinding zones, and frequent inspection help limit cosmetic damage.
A repaired area may not perfectly match the original factory polish or decorative finish. Damascus etching can lose contrast, coatings may be removed, and hammered textures can be flattened if repair work extends into those areas.
Deburring and Leather Finishing
Leather wheels and powered leather belts can remove burr remnants and refine the apex. They may be used bare or with an abrasive compound selected for the desired cutting action and polish.
Each compound should have a dedicated leather surface so different abrasives do not contaminate one another. Too many passes, excessive pressure, or an angle that is too high can round the edge.
The goal is to stop when the burr is removed and the apex is clean and stable. More polishing is not automatically better.
Common Powered-Sharpening Mistakes
Too Much Speed
Higher speed increases heat and reduces reaction time.
Too Much Pressure
Heavy pressure creates heat, uneven grinding, and rapid metal loss.
Worn Abrasives
A dull wheel or belt rubs and heats instead of cutting efficiently.
Grinding Without Checking
Excess steel may be removed before the operator notices.
Rounding the Tip
Incorrect movement near the point can shorten or blunt it.
Leaving a Large Burr
A wire edge can feel sharp temporarily but fail quickly.
What Jigs and Powered Equipment Cannot Guarantee
A jig improves repeatability but does not guarantee the correct result. Accurate setup still depends on wheel diameter, blade shape, clamping position, support height, jig placement, existing geometry, and operator movement.
Powered equipment does not automatically remove too much steel or overheat a knife. The outcome depends on grit, speed, pressure, contact time, cooling, inspection, and judgment. A controlled powered process may remove less steel than repeated unsuccessful sharpening, while an uncontrolled process can cause severe damage.
Quality-Control Checklist
Confirm that the repair removed the intended damage. Check the blade profile and full board contact. Inspect the heel, middle, and tip separately. Look for overheating, scratches, and unintended finish damage. Confirm a continuous bevel and stable apex. Remove the burr completely. Test sharpness with a method suited to the knife. Clean away abrasive residue, swarf, compounds, and marker. Document permanent profile or finish changes. Protect the finished edge for return.
Key Takeaways
Use the Right Tool for the Stage
Water-cooled systems excel at controlled edge formation, while belts can make major repair and reshaping more efficient.
Control Matters More Than Speed
Fresh abrasives, low practical speed, light pressure, cooling, and frequent inspection protect the knife.
Repair and Final Sharpening Can Be Separate
The tool that removes major damage does not need to be the tool that creates the finished apex.
References
The following sources were used in preparing and supporting this article.
Tormek T-8 Original Water-Cooled Sharpening System
Tormek
tormek.com
The Tormek Way of Sharpening
Tormek
tormek.com
Knife Sharpening Options: A Quick Overview
Work Sharp
worksharptools.com
Knife & Tool Sharpener Mk.2
Work Sharp
worksharptools.com