What Professional Knife Sharpening Includes
Professional sharpening is a complete service process that includes inspection, controlled edge restoration, deburring, testing, cleaning, documentation, and protected return.
A professionally sharpened knife is inspected, evaluated, sharpened with controlled metal removal, deburred, tested, cleaned, and protected for return. Repairs and geometry correction may require additional work and approval.
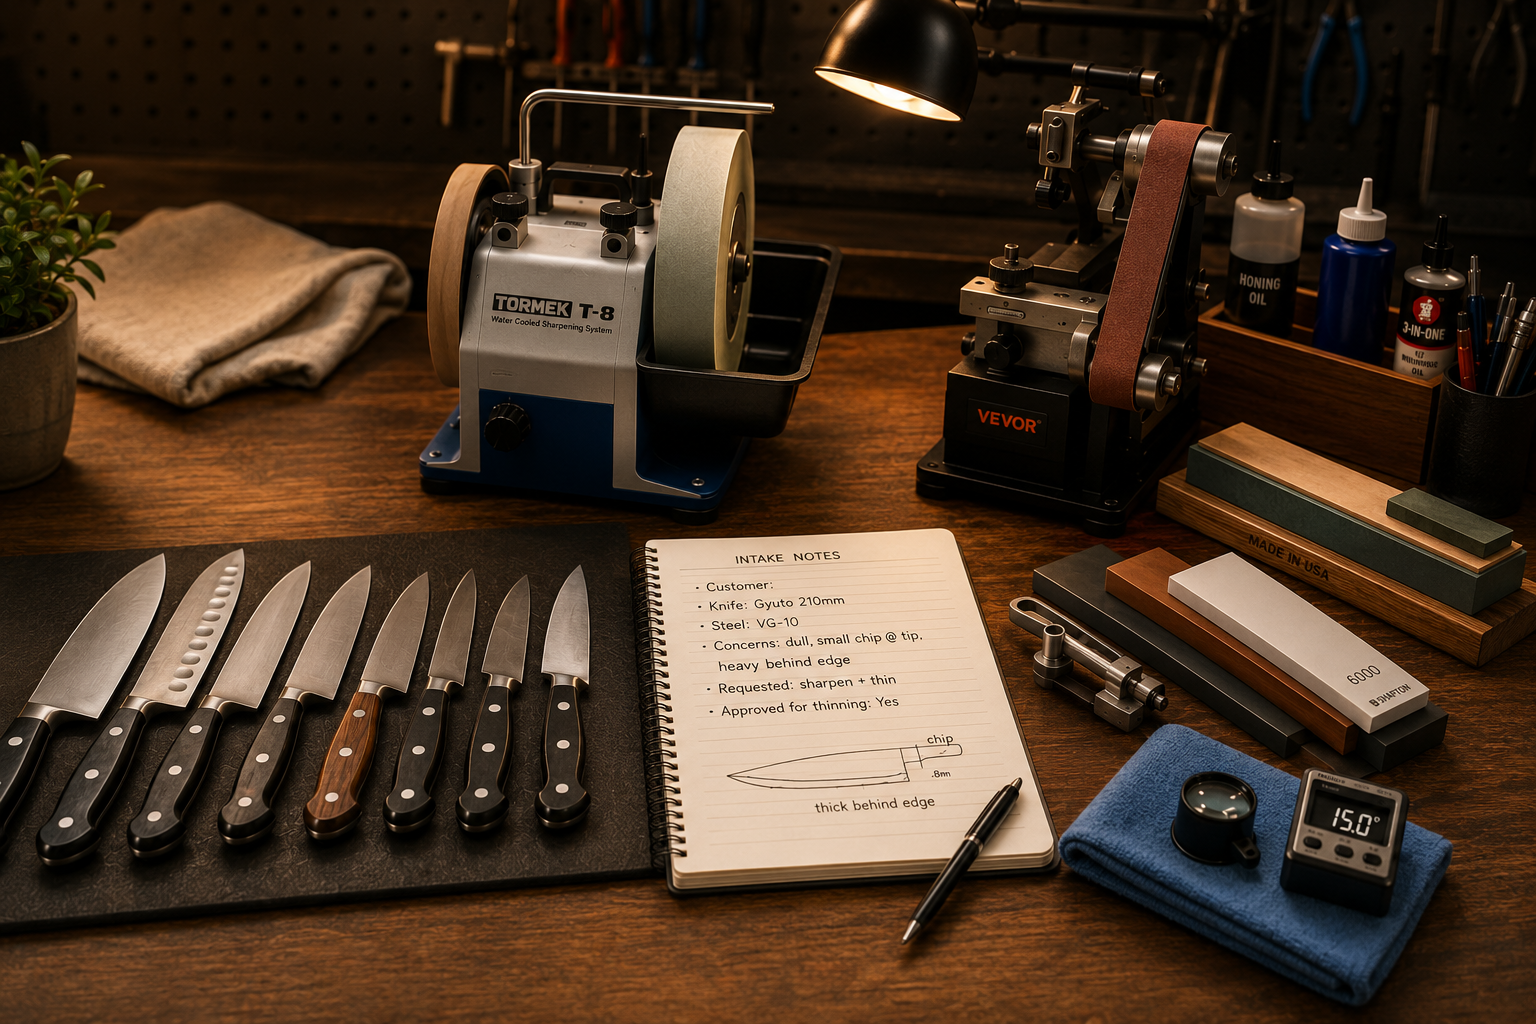
More Than a Few Passes
Professional sharpening begins with inspection and ends only after the edge has been deburred, tested, cleaned, documented, and protected for return.
Inspection Comes First
Before sharpening begins, the knife is examined from handle to tip. This determines whether it needs routine edge restoration, repair, geometry correction, cleaning, or additional customer approval.
A knife that appears simply dull may also have chips, a rolled edge, an uneven prior bevel, a bent or broken tip, corrosion, thick geometry, or a bolster that prevents full board contact.
What Is Checked
Edge Condition
Dullness, rolls, chips, flat spots, burrs, corrosion, and uneven wear.
Tip and Profile
Bending, flattening, breakage, recurves, waves, and incomplete board contact.
Blade Straightness
Bends, twists, warping, cracks, and previous repair.
Existing Bevels
Angle, width, asymmetry, scratch pattern, and evidence of previous sharpening.
Handle and Bolster
Loose parts, cracks, gaps, raised rivets, damaged ferrules, and bolster interference.
Surface Condition
Rust, staining, pitting, scratches, coatings, finishes, and trapped moisture.
Sharpening and Repair Are Different
Routine sharpening restores an intact but worn cutting edge. Repair removes damaged steel, changes the blade profile, or corrects geometry before a new edge can be completed.
Selecting the Method and Angle
The sharpening process may use the Tormek water-cooled system, variable-speed belt equipment, ceramic or other fine abrasives, leather wheels, leather belts, felt finishing surfaces, and stropping compounds.
No bench stones are currently used in the workshop.
The edge angle is selected according to the steel, blade geometry, original design, intended use, previous edge behavior, and owner preference. A stable angle suited to the knife is more useful than chasing the lowest possible number.
Protecting the Knife During Setup
Clamps, guides, fixtures, abrasive particles, and dirty contact surfaces can scratch polished, coated, etched, or decorative blades.
Contact points are cleaned before use. Protective tape or padding may be added when appropriate, and the blade is handled so sharpening remains limited to the intended work area.
Creating the New Edge
Steel is removed from both sides of the cutting edge until the bevels meet at a new apex.
The abrasive must reach the full usable edge from heel through the tip. Pressure, movement, angle, and contact are adjusted as the blade shape changes.
A small continuous burr may confirm that the abrasive reached the apex. Creating an unnecessarily large burr removes extra steel and leaves more weakened metal to remove.
Heel-to-Tip Control
Heel
The rear edge must be sharpened fully without being blocked by a bolster.
Middle
The main cutting area receives consistent angle and pressure.
Belly
Curved sections require controlled movement to maintain even contact.
Tip
The curve must be followed without rounding, flattening, or overthinning the point.
Heat Control and Refinement
The thin apex can heat much faster than the body of the blade. Water cooling, fresh abrasives, lower practical speed, light pressure, short contact, cooling between suitable passes, and frequent inspection help control temperature.
After damage is removed and the bevels meet, finer abrasives reduce earlier scratches and create the selected working finish. Higher polish is not automatically better; many kitchen tasks benefit from a moderately toothy edge.
Deburring
Burr removal is one of the most important stages. A retained wire edge may feel sharp briefly, then fold or break away during use.
Deburring may use lighter alternating passes, finer abrasives, controlled edge-leading strokes, ceramic refinement, leather wheels or belts, felt finishing, and suitable compounds.
The finished knife should cut because the apex is clean and stable—not because a fragile burr remains attached.
Inspection and Testing
The completed edge is examined under strong direct light and may be documented with a Canon camera and macro lens.
Quality control may include:
• Direct-light inspection for reflected flat spots, chips, and incomplete sections.
• Paper testing for snagging, roughness, and edge inconsistency.
• Paper-towel testing for apex refinement and burr removal.
• Practical cutting tests for bite, slicing, wedging, and cutting resistance.
• Brubacher Edge Sharpness Scale testing for a repeatable numerical measurement at the tested point.
No single test describes every aspect of the knife.
What BESS Means
BESS stands for Brubacher Edge Sharpness Scale. The test measures the force, expressed in grams, required for an edge to cut standardized test media. A lower score means less force was required at the tested point.
Cleaning, Safety Review, and Return
Before return:
• Metal swarf, abrasive residue, water, compound, marker ink, and fingerprints are removed.
• The blade and handle are dried completely, including the bolster, ferrule, rivets, and joints.
• The knife is checked again for cracks, severe bends, loose handles, deep corrosion, and other safety concerns.
• Significant work and permanent changes are documented.
• The edge and tip are protected with a guard, secure sleeve, or separated packaging.
A freshly sharpened knife may be substantially sharper than the customer remembers and should be handled cautiously.
What Routine Professional Sharpening Usually Includes
• Knife identification and intake review.
• Visual edge, blade, tip, and handle inspection.
• Evaluation of existing bevels and geometry.
• Selection of an appropriate sharpening method and angle.
• Controlled creation or restoration of the bevels.
• Sharpening from heel through the tip.
• Progression through suitable abrasives.
• Burr reduction and removal.
• Edge inspection and performance testing.
• Removal of sharpening residue.
• Final drying and safety review.
• Protected preparation for return.
Work That Is Not Automatically Included
Additional work may require more time, abrasives, setup, approval, and permanent changes to the blade.
Major Chip or Tip Repair
Missing steel is corrected by reshaping the remaining blade.
Thinning and Geometry Correction
Steel above the edge is removed to reduce wedging or steering.
Bolster Reduction
Excess bolster material is removed so the heel can contact the board.
Rust and Surface Restoration
Deep corrosion, pitting, stains, and scratches require work beyond normal edge sharpening.
Handle or Structural Repair
Loose handles, cracks, severe bends, and structural problems require separate evaluation.
Factory-Finish Recreation
Exact brushed, polished, etched, hammered, coated, or decorative finishes may not be reproducible.
When Customer Approval Is Needed
Approval is requested when additional work will:
• Increase the estimated price.
• Remove significant blade height.
• Change the tip, profile, bevel appearance, or finish.
• Require thinning or bolster reduction.
• Leave visible pitting or repair marks.
• Affect a custom, collectible, or sentimental knife.
• Involve a safety concern or repair that may not be economical.
Key Takeaways
Inspection Determines the Process
The knife’s condition, steel, geometry, construction, and intended use guide every sharpening decision.
A Clean Apex Is the Goal
Controlled bevel creation and complete deburring matter more than cosmetic polish alone.
The Service Ends With Quality Control
Testing, cleaning, safety review, documentation, and protected return are part of professional sharpening.
References
The following sources were used in preparing and supporting this article.
PT50 Series Edge Sharpness Testers and the BESS
Edge On Up
edgeonup.com
Knife Sharpening
Tormek
tormek.com
The Tormek Way of Sharpening
Tormek
tormek.com
How to Sharpen a Knife: Back to Basics
Work Sharp
worksharptools.com