Why We Photograph Knife Edges
Canon macro photography helps document damage, guide repair decisions, compare results, and build a useful service record when detailed images are warranted.
Before-and-after photographs can document chips, rolls, corrosion, uneven bevels, broken tips, repairs, and finished-edge condition. Photography supports inspection and communication but does not replace practical testing.
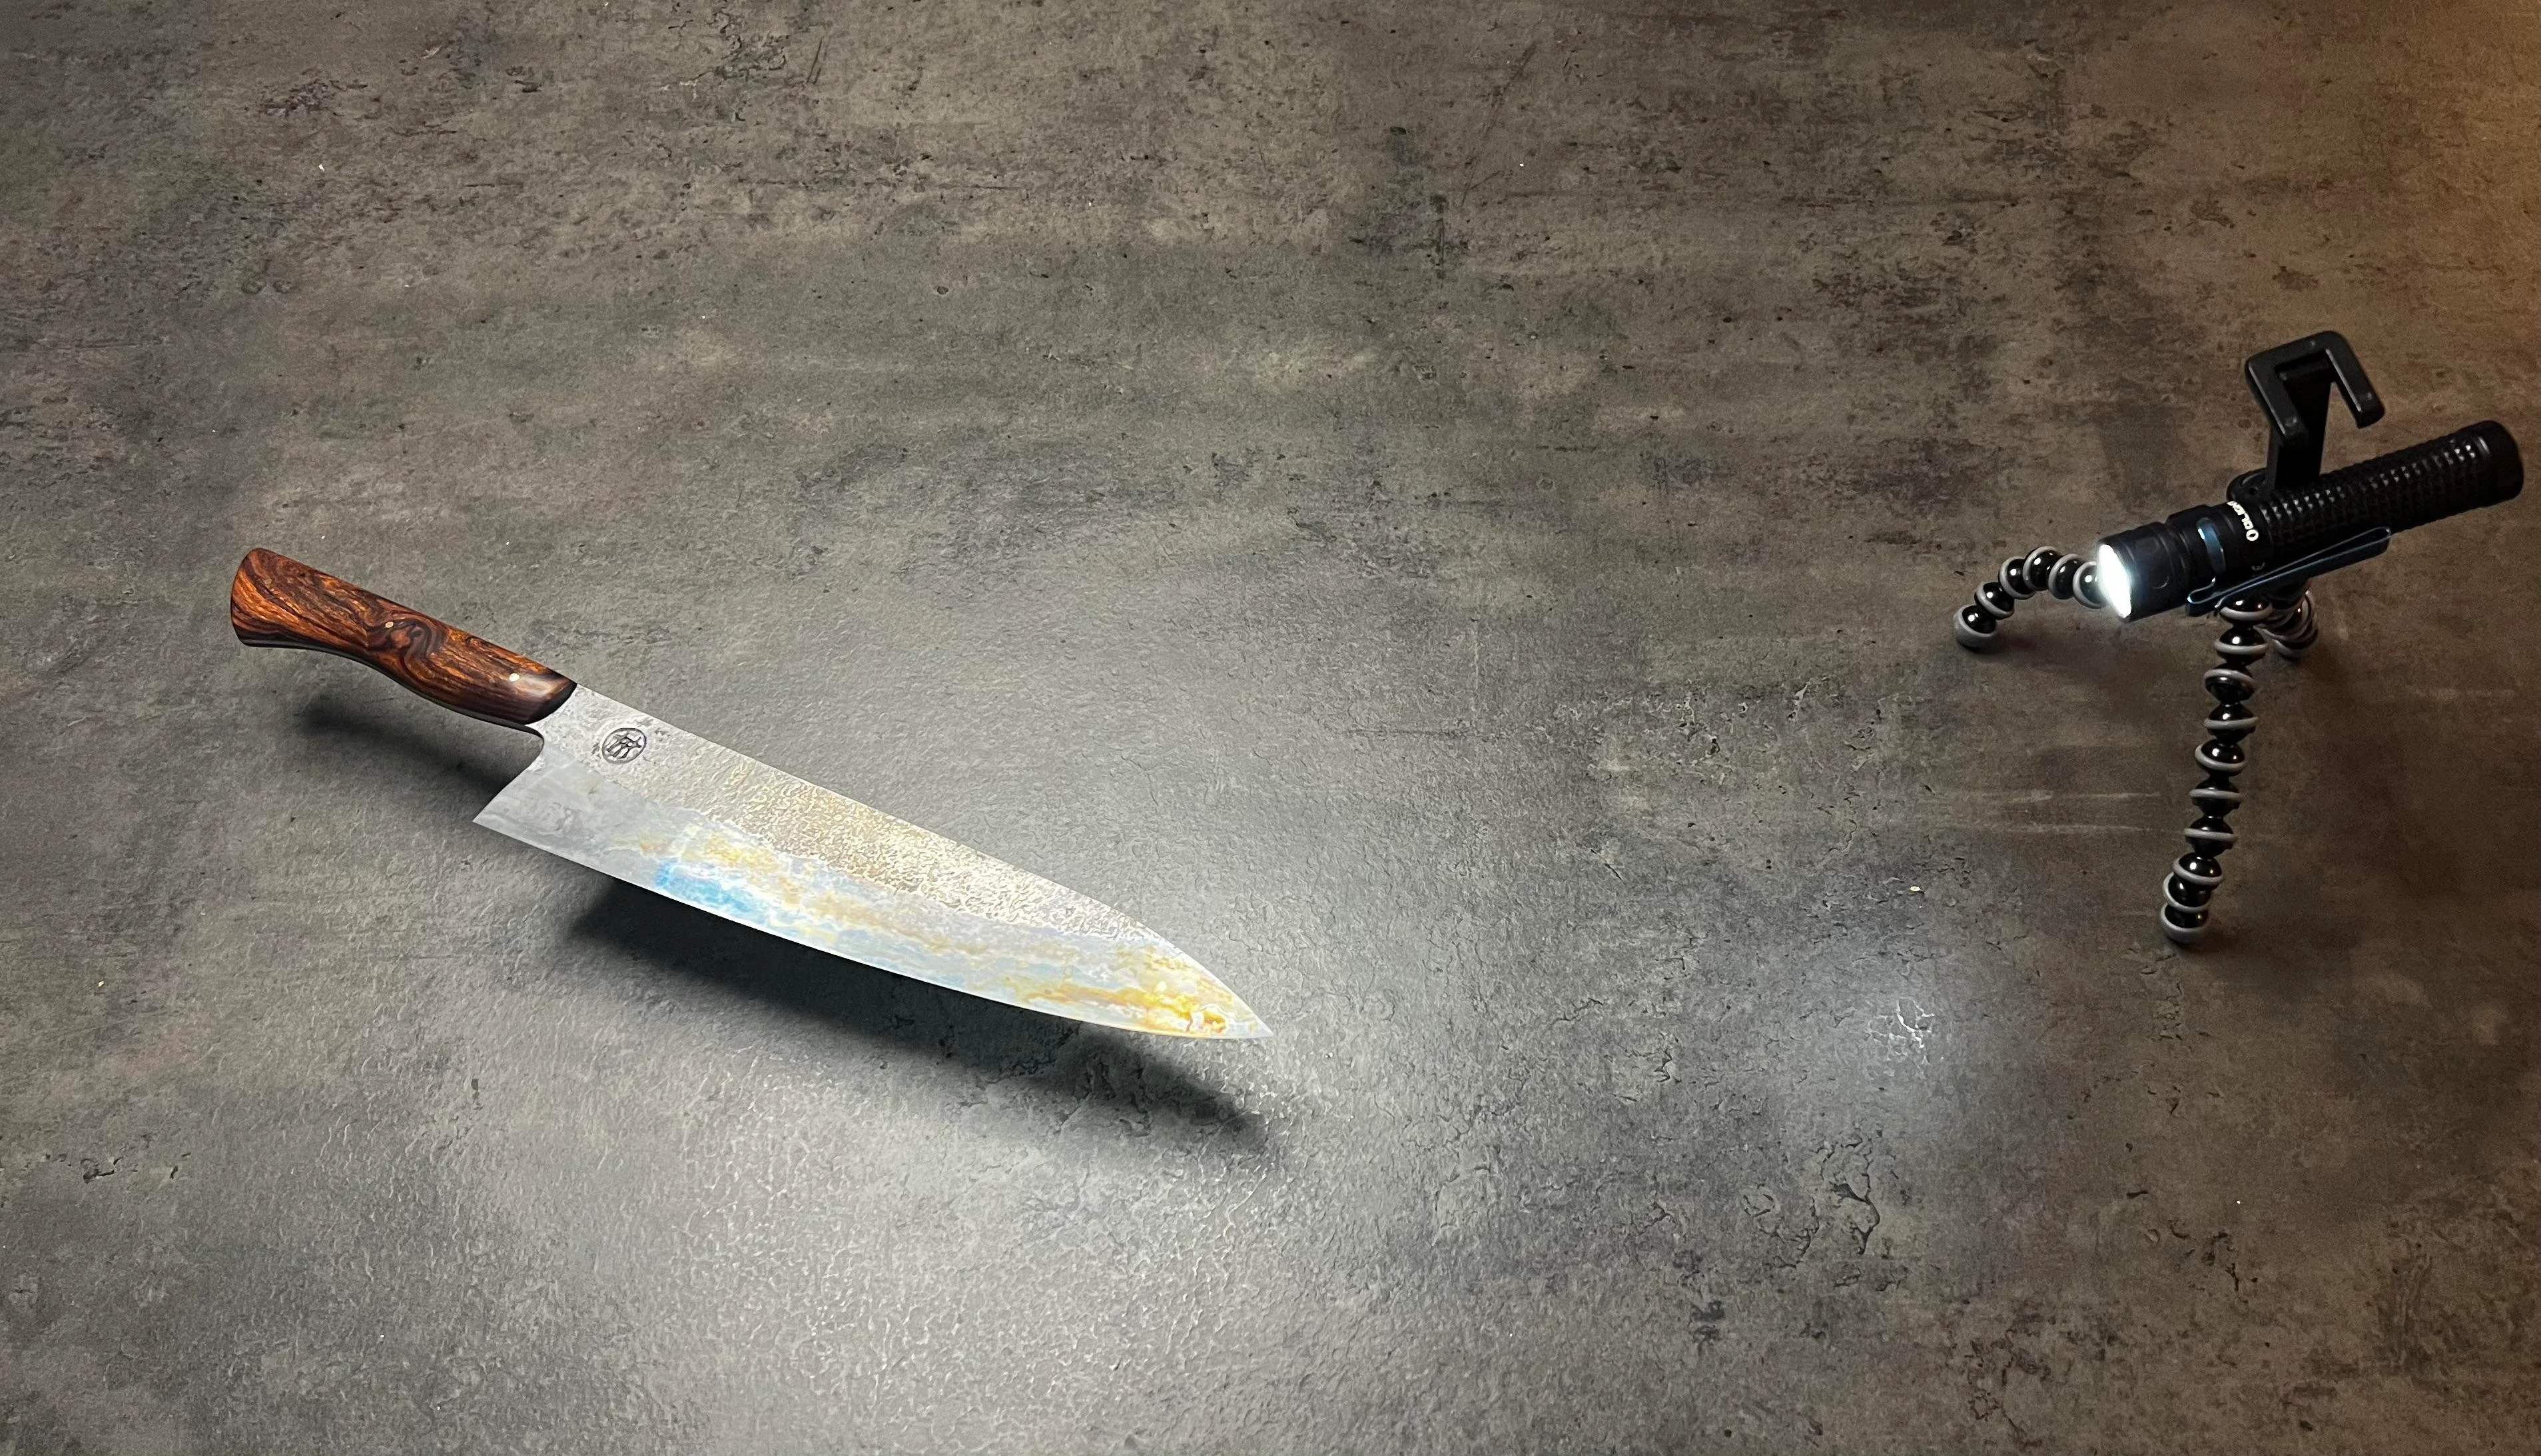
The Primary Purpose
Photography records the knife’s actual condition before steel is removed or the blade profile is changed. Detailed images are used when they add meaningful information—not simply as decoration.
Photography Begins With Documentation
A knife may arrive with obvious damage, subtle wear, or a condition that becomes clear only under strong directional light and close photography.
A Canon camera with a macro lens may be used to document chips, rolls, corrosion, uneven bevels, tip damage, scratches, and other details before work begins.
Wider photographs provide context by showing the complete knife, handle, blade shape, profile, and location of the damage.
What May Be Photographed
Full Knife
Shows the knife type, handle, blade shape, size, profile, and overall condition.
Cutting Edge
Documents chips, rolls, flat spots, reflections, corrosion, and uneven sections.
Tip
Records bending, flattening, rounding, breakage, and previous repair.
Heel and Bolster
Shows recurves, bolster interference, and incomplete board contact.
Blade Surface
Documents rust, staining, pitting, scratches, coatings, etching, and decorative finishes.
Handle
Records cracks, gaps, raised rivets, loose scales, and visible structural concerns.
What Macro Photography Can Reveal
A knife edge is extremely narrow. Close photographs can make small features easier to evaluate and document.
Useful details may include:
• Small chips or missing steel.
• Rolled or folded edge sections.
• Burr remnants after sharpening.
• Scratch patterns reaching—or failing to reach—the apex.
• Corrosion and pitting near the cutting edge.
• Bright reflective areas where the edge is rounded or flattened.
Macro photography supports visual inspection, but the apparent size of a feature must be interpreted carefully.
Photography Helps Separate Dullness From Damage
An ordinarily dull edge may be rounded or worn without significant missing steel. A damaged edge may contain chips, folds, pits, cracks, or an altered profile.
That distinction affects the starting abrasive, amount of steel removal, repair plan, expected service time, and whether approval is needed before permanent work begins.
Photographs also preserve the observations made during intake so the knife can be reviewed again before repair.
How Photographs Support Repair
| Condition | Before Photo Documents | After Photo May Show |
|---|---|---|
| Chipped edge | Original size, depth, location, and shape of missing steel. | A restored continuous profile after surrounding steel is blended. |
| Broken tip | The original break and remaining blade profile. | The new point formed from the steel that remained. |
| Rust and pitting | The location and severity of corrosion before work. | Removed active rust while deeper permanent pits may remain. |
| Uneven bevels | Existing widths, scratches, multiple angles, and asymmetry. | A more consistent or intentionally preserved edge geometry. |
| Recurve or heel problem | Incomplete board contact or bolster interference. | A corrected cutting line and improved heel contact. |
Existing Scratches and Finishes
Knives may arrive with scratches from drawers, abrasive cleaning pads, previous sharpening, storage systems, or ordinary use.
Recording those marks before service helps distinguish existing cosmetic wear from the work being performed.
This is especially useful for polished, coated, etched, hammered, patterned, custom, collectible, or sentimental knives where cosmetic changes matter.
Photographing Both Sides and Multiple Edge Sections
A burr, roll, chip, reflection, or asymmetrical bevel may appear differently from opposite sides of the blade.
When detailed documentation is useful, photographs may include both sides and several locations:
• Heel.
• Middle.
• Belly.
• Tip.
This helps prevent one favorable image from representing the complete edge and can reveal an unfinished section that would otherwise be missed.
Before-and-After Images Must Be Comparable
A meaningful comparison uses approximately the same edge location, orientation, reproduction size, focus point, background, and lighting direction.
The after photograph should not appear better merely because it is larger, brighter, more sharply focused, cleaner, or photographed from a more favorable angle.
Consistent photographs can show repaired chips, corrected profiles, reduced corrosion, more complete bevels, and improved edge continuity.
What Makes a Useful Comparison
Same Location
Compare the same heel, middle, belly, tip, or damaged section.
Similar Scale
Avoid making ordinary texture appear larger in only one image.
Same Orientation
Keep the edge and bevel aligned consistently.
Similar Lighting
Reduce misleading differences caused by glare and shadow.
Accurate Focus
The apex itself should be clear rather than only the bevel above it.
Clean Blade
Swarf, compound, marker, and moisture should not hide the edge.
Lighting, Focus, and Scale Can Mislead
Knife-edge photographs depend heavily on reflected light. A bright feature may be a dull spot, burr, polished bevel, or temporary reflection.
At macro distances, depth of field is limited. The bevel may be sharp while the apex is out of focus, or the reverse.
Small scratches and edge texture can appear dramatic when enlarged. Their importance depends on actual size, location, frequency, and effect on cutting—not appearance alone.
Photography Supports Quality Control
An after photograph may reveal a remaining burr, chip, reflective flat spot, incomplete heel, unfinished tip, or inconsistent bevel that requires more work.
A polished bevel does not automatically prove sharpness. The visible polish may end above a rounded or poorly deburred apex.
A visibly scratched working edge may perform extremely well when it is fully apexed, properly deburred, and suited to the task.
Photographs Do Not Replace Performance Tests
A photograph can show visible edge condition, but it cannot fully describe how the knife moves through food.
Quality control may also include:
• Direct-light inspection.
• Paper testing.
• Practical cutting tests.
• Board-contact checks.
• Brubacher Edge Sharpness Scale testing when a numerical measurement is useful.
A sharp-looking apex can still sit on a blade that is too thick behind the edge, and a beautiful photograph cannot predict future edge life.
Service Records Can Help Later
Photographs can become part of a knife’s service history.
Future comparisons may reveal:
• Recurring chips that suggest an edge is too delicate for the use.
• Repeated rolling from softer steel, scraping, twisting, or hard surfaces.
• Increasing bevel width as the edge moves into thicker blade material.
• Returning corrosion linked to storage or drying habits.
• How a previous repair or sharpening choice performed over time.
Not every routine knife needs extensive photography. Detailed images are most useful when damage, value, unusual construction, or a meaningful profile change justifies them.
Photo Documentation Checklist
• Identify the customer or intake.
• Record the knife type, brand, and blade length.
• Note whether the image is before service, during repair, or after completion.
• Identify the photographed heel, middle, belly, tip, or damaged area.
• Record the left or right side when relevant.
• Use consistent lighting, orientation, focus, and scale.
• Note the chip, roll, burr, corrosion, scratch, or repair being documented.
• Keep the image connected to the knife’s service record.
Key Takeaways
Photography Creates a Record
Before images preserve condition before steel is removed or the profile changes.
Consistency Makes Comparison Useful
Location, focus, orientation, lighting, cleanliness, and scale should remain comparable.
Function Still Comes First
Photographs support inspection, but cutting tests and appropriate measurements confirm practical performance.
References
The following sources were used in preparing and supporting this article.
Macro Photography: How to Look Sharp!
Canon U.S.A.
usa.canon.com
Macro Photography: Sculpting and Shaping Light
Canon U.S.A.
usa.canon.com
PT50 Series Edge Sharpness Testers and the BESS
Edge On Up
edgeonup.com
Knife Sharpening
Tormek
tormek.com